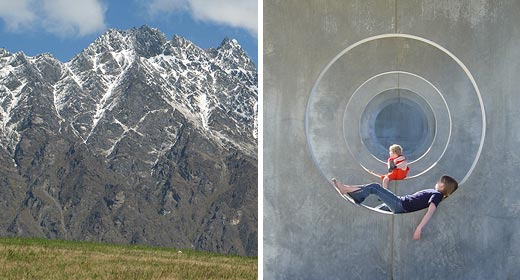
Discuss (Up to OJB's Photo Tips Page) Photography Tips: FramingIn the photos at the top of this page you can see how I have created two different effects by using a framing element in the photo. The photo of the mountains seems very open because the mountains reach up to the sky, the only boundary is the grassy hill at the bottom. The second photo is much more enclosed because the concrete blocks frame the main subject (the kids) and give a more intimate feeling. Framing can be achieved in different ways. If you want this effect look for a foreground object which naturally frames the main subject. Remember that if you want the frame in focus as well as the subject you will need good field depth, so set the camera to a narrow aperture, say f/8 to f/22. Sometimes leaving the frame out of focus can also be effective. This gives a vignette effect around the subject. In this case choose a wide aperture, say f/2 to f/4, and focus on the subject. I usually use aperture priority mode in this case. I set the aperture required and the camera sets the correct exposure time. Related Subjects |
| Improve the framing of your photos by cropping them. | |
| Using field depth to focus or unfocus the border. |
![[Up]](../XuShared/Up4B.jpeg)
![[Comment]](../XuShared/Comment2B.jpeg)
Comment on this page: Very Useful • Quite Useful • Useless or: View Results |
||||||||||||